How To Start A Worm Farm On A Shoestring Budget
In Less than $5 or FREE!
Do you want to know how to start a worm farm
Dirt Cheap?
If you do everything on impulse (like me sometimes) then you just want to start worm farming now. You don't want to wait for worms to come in the mail or have to pay an arm and a leg for them too.
Okay, I Get It!
But Hold On A Second!
I want you to know, this is not a tutorial on "how" to worm farm but rather how to "start" a worm farm and on a tight budget too. Most of us have a "put it together THEN read the instructions" mentality.
Most worm composters fail doing it this way so please educate yourself as much as possible.
So I DO NOT recommend this impulse approach as you will be raising living creatures and they will depend on you for their everyday livelihood.
But I'm just a dude on the Internet and I really encourage you to read the Worm Farming Guide to truly be successful and blah, blah, blah...Okay, nuff said.
Now Let's Do This!
1. Start A Worm Farm By Choosing A Worm Bin
When starting a worm bin from scratch you obviously won't be using any of the fancier bins like the Worm Factory, Worm Inn, Worm Hut, or Can O' Worms etc...
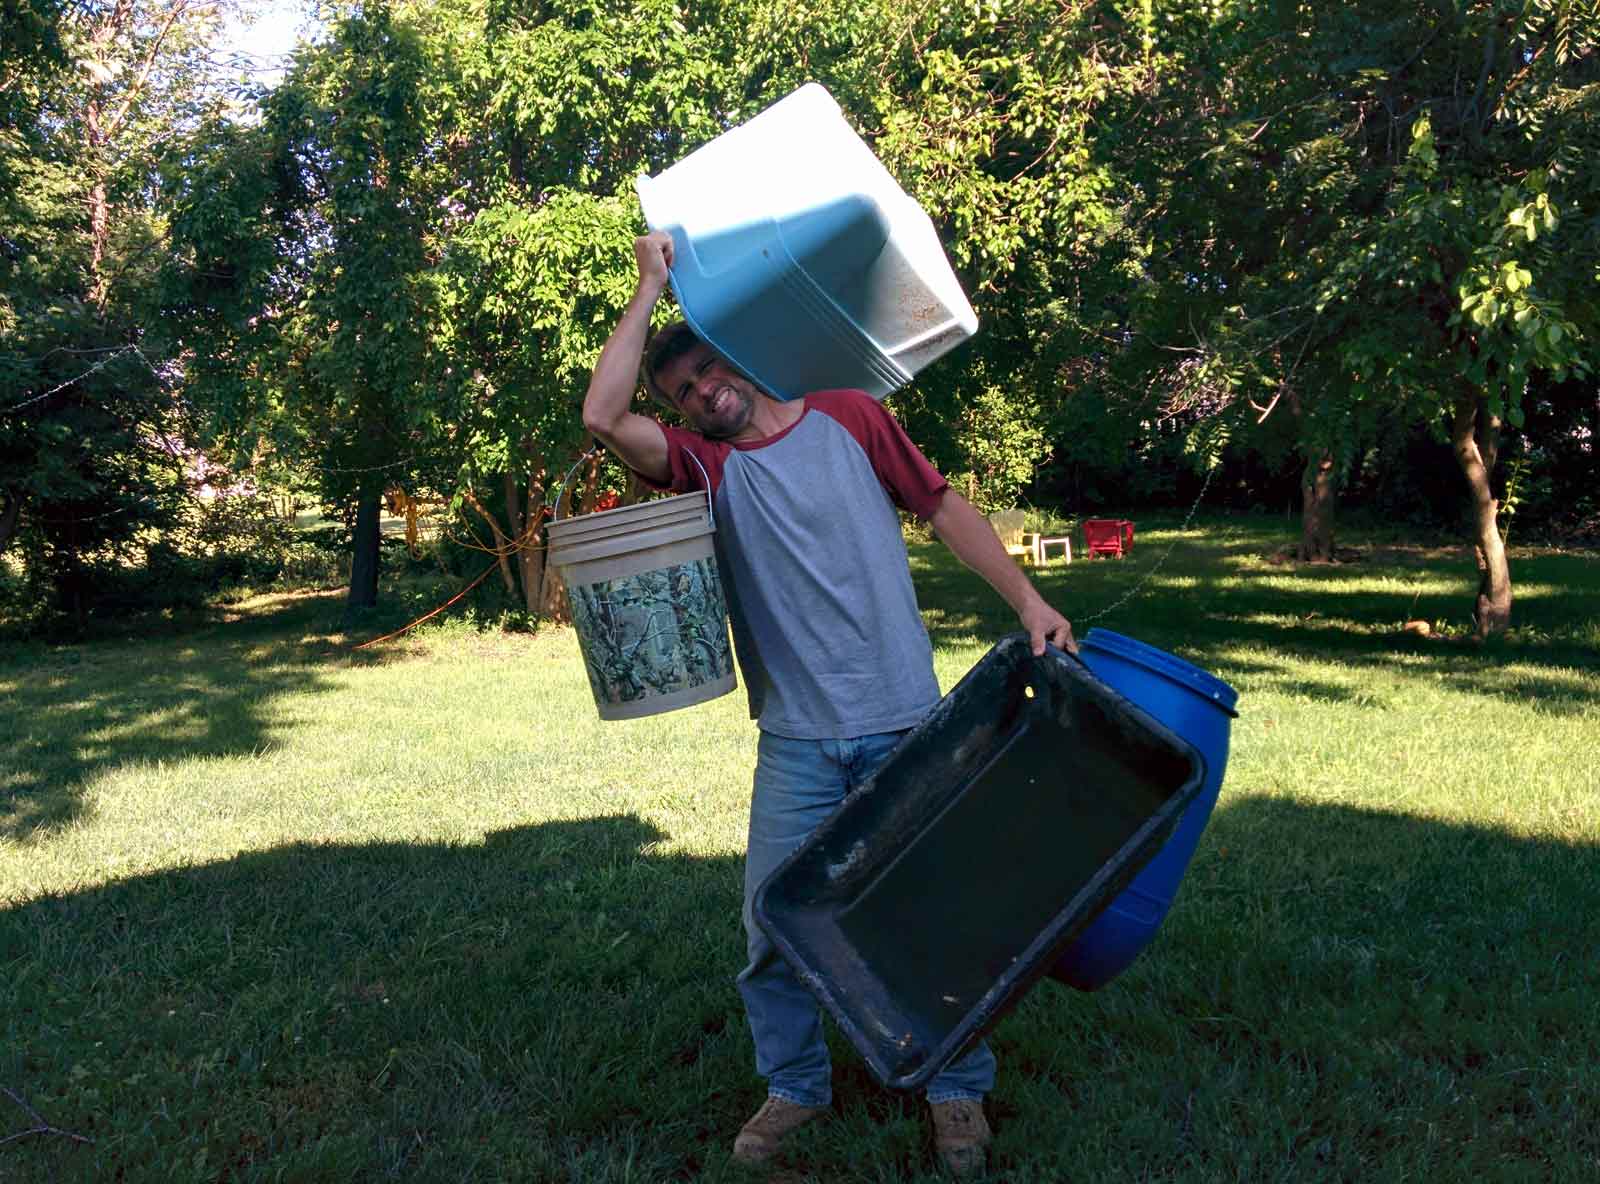
But most likely it'll be something lying around the house or outside somewhere up against the house or in an outbuilding.
It can made out of wood, plastic, metal, nylon fabric, plaster, concrete, composite material or anything at all. It doesn't matter what, just as long as the container isn't too small.
The worms need to be able to retreat to a part of the container in the event something goes wrong. If it's too small and they cannot get out or move to a section that is safe for them inside the worm bin then they will die.
They will probably die if they crawl outside the container anyway so make sure it is no smaller than 1 square foot and no shorter than 4 inches. These are only guidelines for sizes in my own opinion. Use your best judgment. The bigger, though, the better.
***Sidenote***
Everybody is a teacher once they learn how to do something. You will most likely hear several people saying, "Do it this way or that way".
I don't care if you follow them or me. Just follow someone and stick with it. Cause too many Worm Farmers spoil the castings ;)
I do have several years of experience and book smarts plus I have my own garden to back me up. But if someone is already showing you the "ropes" then please respect their devotion towards helping you get started. After all, It is the polite thing to do.
***Sidenote***
Now, you will be starting with very few worms probably. In that case I wouldn't go too big. If you start with an 18 gallon tote then when you DO have more worms you won't have to transfer them over to a bigger worm bin because you'll already have one.
You will have to eventually split the herd when they grow out of their home. You'll know there are too many when you have more than around 1 pound of worms or about 1,000 worms per square foot.
Follow this link to setup your own DIY Worm Bin. You can also read about other types of worm bins and worm farming systems as there are surely a lot more coming soon!
2. Start A Worm Farm By Choosing A Location
Location...Location...Location
As far as I know there are only two places to set your worm bin and that would be inside or outside :) Duh! Well I suppose there is the water too but we're not talking vermiponics...yet.
Depending on what type of specie you have will also help you determine where to set your worm bin. But most composting worms will do fine indoors or outside in the shade.
Talk with a worm expert or do your research first before you decide which worm to get for your area or circumstance.
If starting a worm farm outside then always set up the worm bin in a shady area. The sun will have an extreme influence on the bin especially if it is metal or plastic. Always keep the bin moist with water so air can flow through the bin helping it to cool down by means of evaporation.
If you're wanting to start a worm farm indoors in a climate controlled environment then this is the absolute preferred method. The constant temperature of 65-80*F (15-27*C) will ensure that your worms will be producing worm castings and increasing in population exponentially.
But still keep it out of the sunlight, even indoors. Also, don't have it in a place where there will be a lot of vibrations. Too much vibration and it can cause the worms to be less productive as they will think there is a predator near by.
3. Start A Worm Farm Using Proper Bedding/Food
To start a worm bin properly you must have all elements in place before adding the worms. This means food as well.
I always hear the terms "food" and "bedding" but they are both the same thing. Everything that goes into the worm bin is food.
The bedding usually consists of carbon materials such as moist peat moss, dead leaves, dead grasses, coco coir, shredded paper (non glossy) etc. This is carbon material in which you can never go wrong or add too much of.
The "Food" that people normally talk about are your kitchen scraps like fruits and veggies. These are the nitrogen rich sources that many fail to get right when they start a worm farm.
But make no mistake. Most people who start a worm bin fail because they add too much kitchen scraps and the small amount of worms that they have simply can't keep up with the decaying process.
The worm bin ends up smelling, becoming anaerobic and way too acidic. If the worms can't retreat to a safe place then they will just simply die. That is why it is important to have a large enough worm bin and only add kitchen scraps to one area of the worm bin.
You should be safe though in adding the carbon and nitrogen materials in a 20:1 or 40:1 ratio. Beginners should stick to the 40:1 ratio plan. Make sure the kitchen scraps are buried a good 2 inches under the carbon bedding to keep the smell contained or you will attract unwanted pests.
Add a small handful of moist dirt from underneath the topsoil outside. This contains living indigenous microbes to help break down the material in the worm bin. Let it set for 1 week before adding the worms.
When there is plenty of decaying matter then your worms will be much happier and less likely to remain stressed out from being transferred from one place to the next. Alright, moving on!
Follow this link to get a better understanding of worm food.
4. Start A Worm Farm With The Proper Worm
(Here's where the "cheap" really comes in)
There are a variety of species out there but for the sake of keeping this "How to start a worm farm shoestring, dirt-cheap budget thing" on the condensed side then I'll just hit the two most popular worms.
Getting a worm farm off the ground can be expensive $40 and up or it can be next to nothing.
However, going the cheaper route often means using the turtle method but can still be very effective if you have the patience to wait for their numbers to grow.
The two most popular composting worms are the European Nightcrawler and the Red Wiggler. Both are great at eating, pooping and romancing only the European Nightcrawler is fatter and therefore great for fishing.
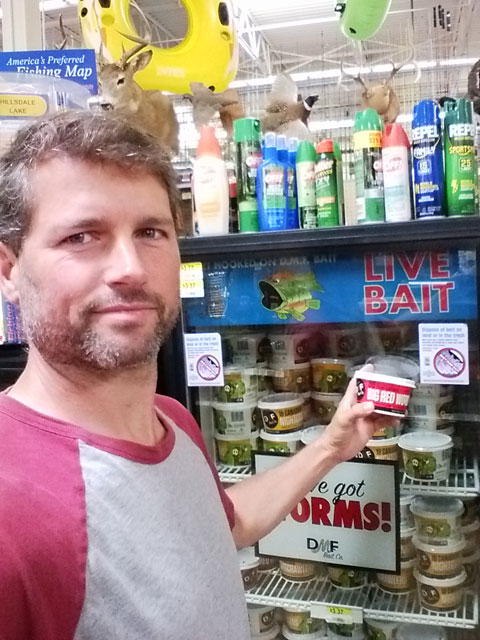
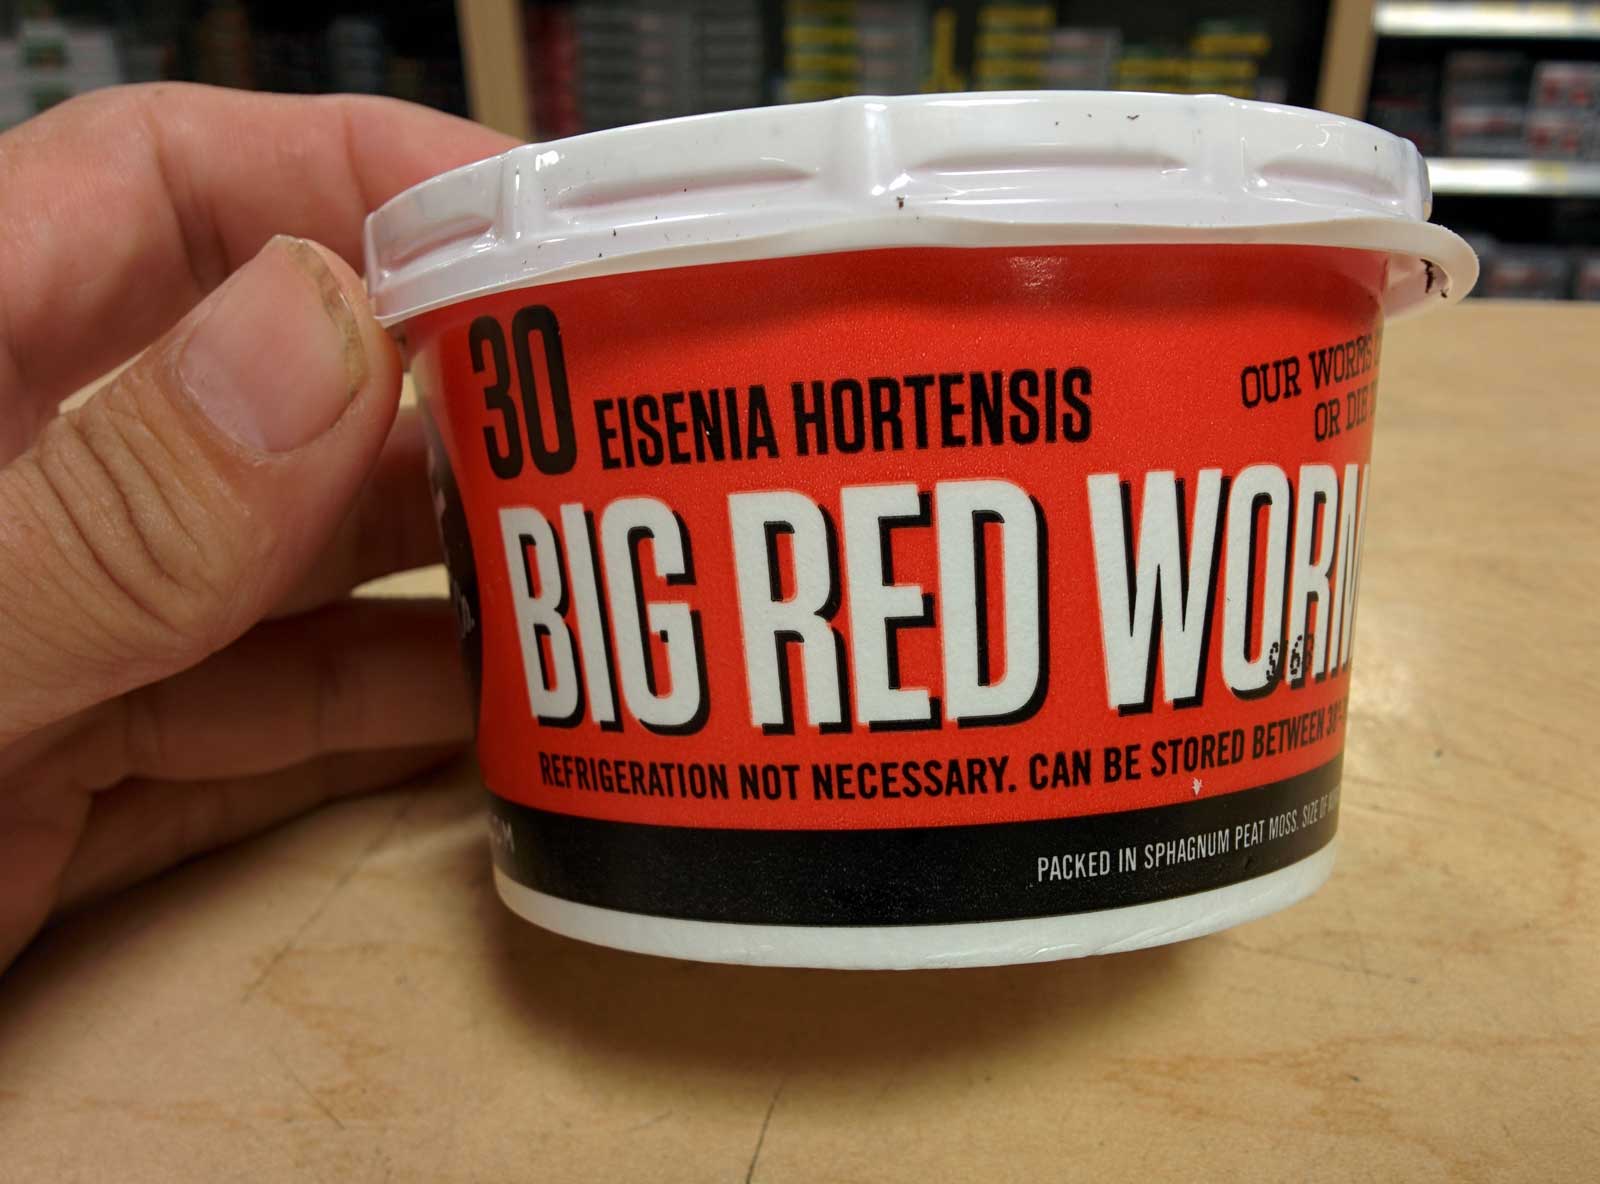
If you want to raise worms for fishing and composting then get the European Nightcrawler. Low and behold you can find these Big & Fat guys at the Walmart stores across America in the sporting goods department.
They just don't store very well in the refrigerator so you should grab a container with the worms that seem the most active. you might have to dig through the shelves a bit.
Walmart does not sell the red wiggler. Only the European Nightcrawler and the Canadian Nightcrawler. Do not Use the Canadians. Canadians don't like to be caged. At least not yet. We're working on that one ;)
You can also get worms at your local bait shop. They should sell both types of composting worms but make sure they can tell you their scientific name (although still not a guarantee that you'll get the right worm but the community is getting smarter) before you make any purchase.
Below are these two composting worms that belong to the Epegeic Group.
The Red Wiggler is called Eisenia fetida.
The European Nightcrawler is called Eisenia hortensis.
Of
course a faster and even thriftier way of acquiring some composting
worms is to ask a guy who knows a guy ;) We are always willing to give
up a small handful to help someone succeed in gardening or fishing:)
Heck! You just might receive an entire pound or more!
However, I absolutely recommend buying online from a reputable worm vendor or getting them from a friend that is already worm farming. This will ensure you that you'll have the best success from the beginning.
Follow this link to read more about the Epigeic Group or learn about the worm anatomy.
5. Start A Worm Farm By Waiting For The Worms To
Come To You
Check out my YouTube video on where I found some worms. I actually stumbled upon them
Where To Find Worms
Housing My Newly Found Worms
Another way to get worms, if you are FLAT BROKE and have absolutely no money whatsoever or even any friends ;) is to approach this with the "Field Of Dreams" method.
"If You Build It, They Will Come"
But this is the absolute last resort approach to finding worms for your worm bin. Although it will definitely work for your outdoor compost pile. So far I have only talked about how to start a worm farm by using some type of container.
But if you really like the idea of having an outside compost pile with plenty of worms then this method will be slow but very rewarding. Although You may not be able to do this in your part of the world if your ground does not support worms to begin with :(
If this is the case then you will just have to get worms like we discussed above.
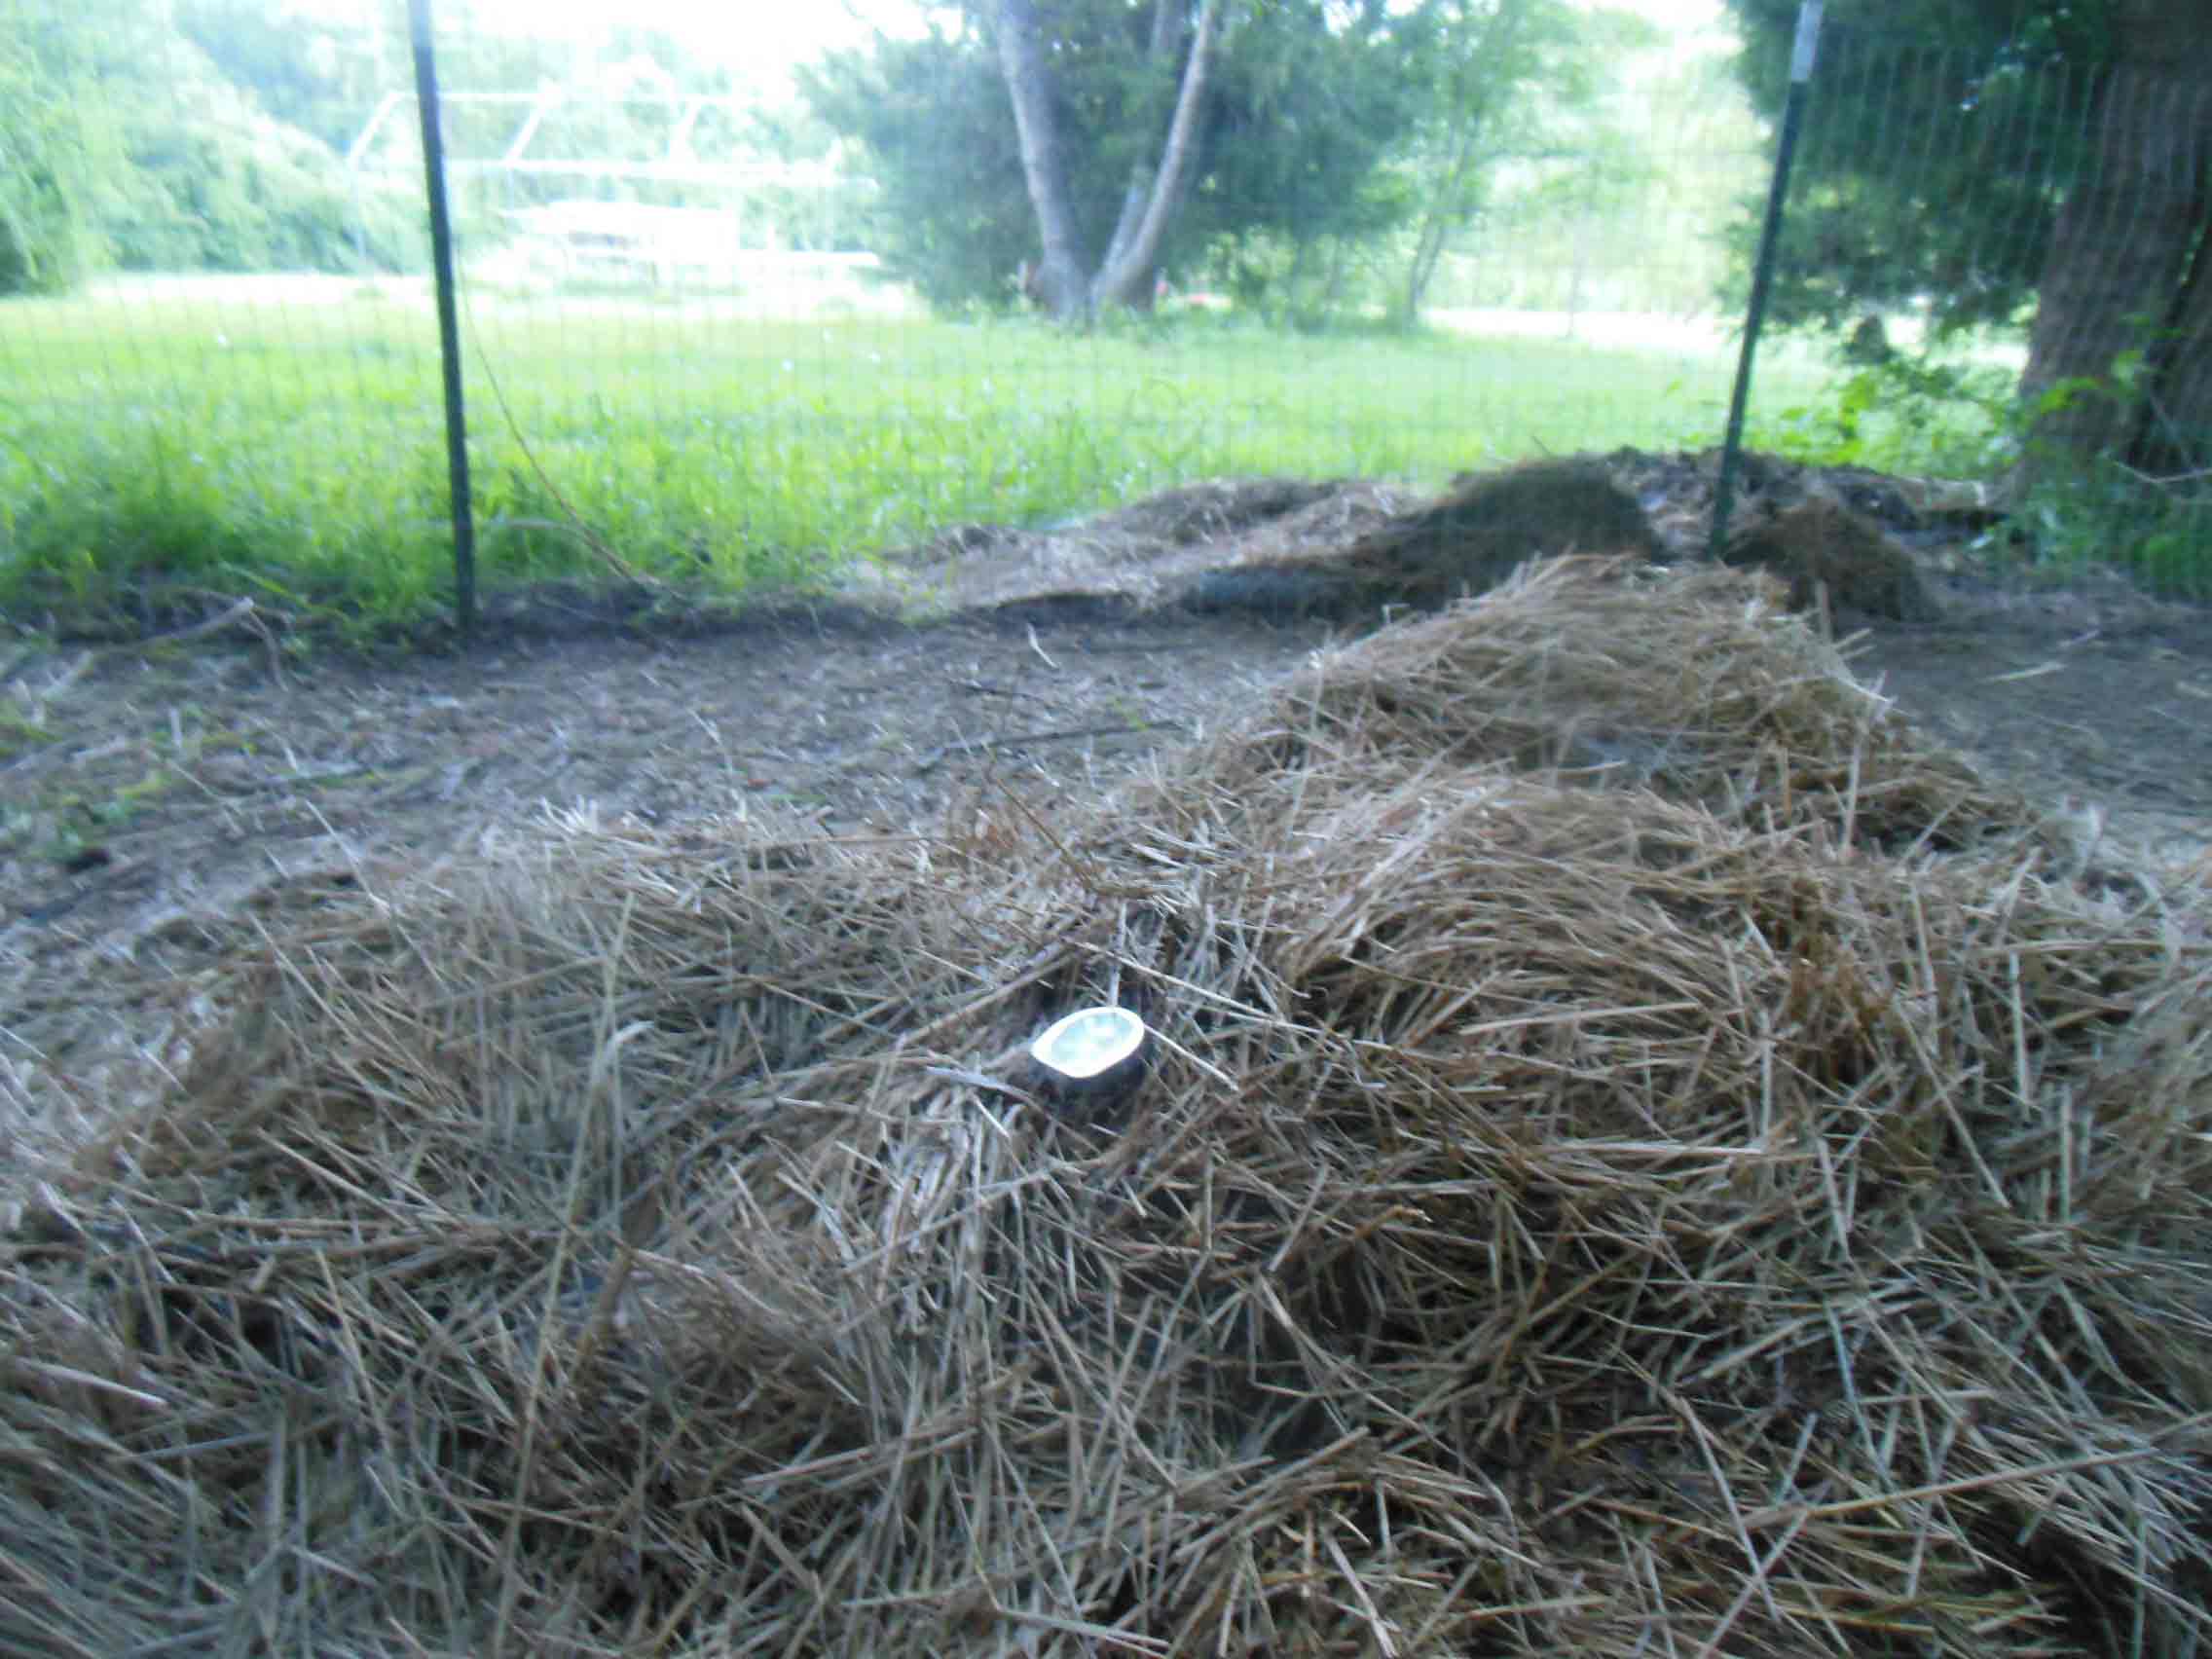
But in order to be more correct, this is actually a "Pile of Dreams" and the "Pile" can be as big as you want it to be.
The downside to this however is that it'll be like a "box of chocolates" and you never know what worms will come to you.
This will be more than the "turtle" approach. It will be more like the "sloth" approach but again very rewarding as you will get all manner of species coexisting with each other in lateral and vertical burrows.
Your compost pile will consist of enormous amounts of moist carbon based materials as we've already discussed above in step 3. This will allow the the air to move through the hay, straw, leaves, manure, etc. while remaining damp enough for microbes to thrive in order to break down the material.
You can also add smaller amounts of nitrogen based foods as nothing should go to waste to a landfill. Make sure you pile is at least 3 feet high with at least a 4-6 foot diameter. This is just a guideline. Turn your pile twice per week. Make sure it stays wet or damp.
The bigger you can make your pile then the more types of creatures you will have come to your "pile of dreams".
Now that you have a nice compost pile, and it looks half-way composted, next you'll need to start searching for your composting worm for your worm bin. This can be as much fun as it is aggravating. Remember, you are not guaranteed any composting worms but you'll still have worms at least. Any worm is better than no worm.
Now that you have a nice compost pile, and it looks half-way composted, next you'll need to start searching for a composting worm for your worm bin.
This can be as much fun as it is aggravating.
Remember, you are not guaranteed any composting worms but you'll still have plenty of other worms working hard day and night to turn your pile into a rich fertilizer for your plants.
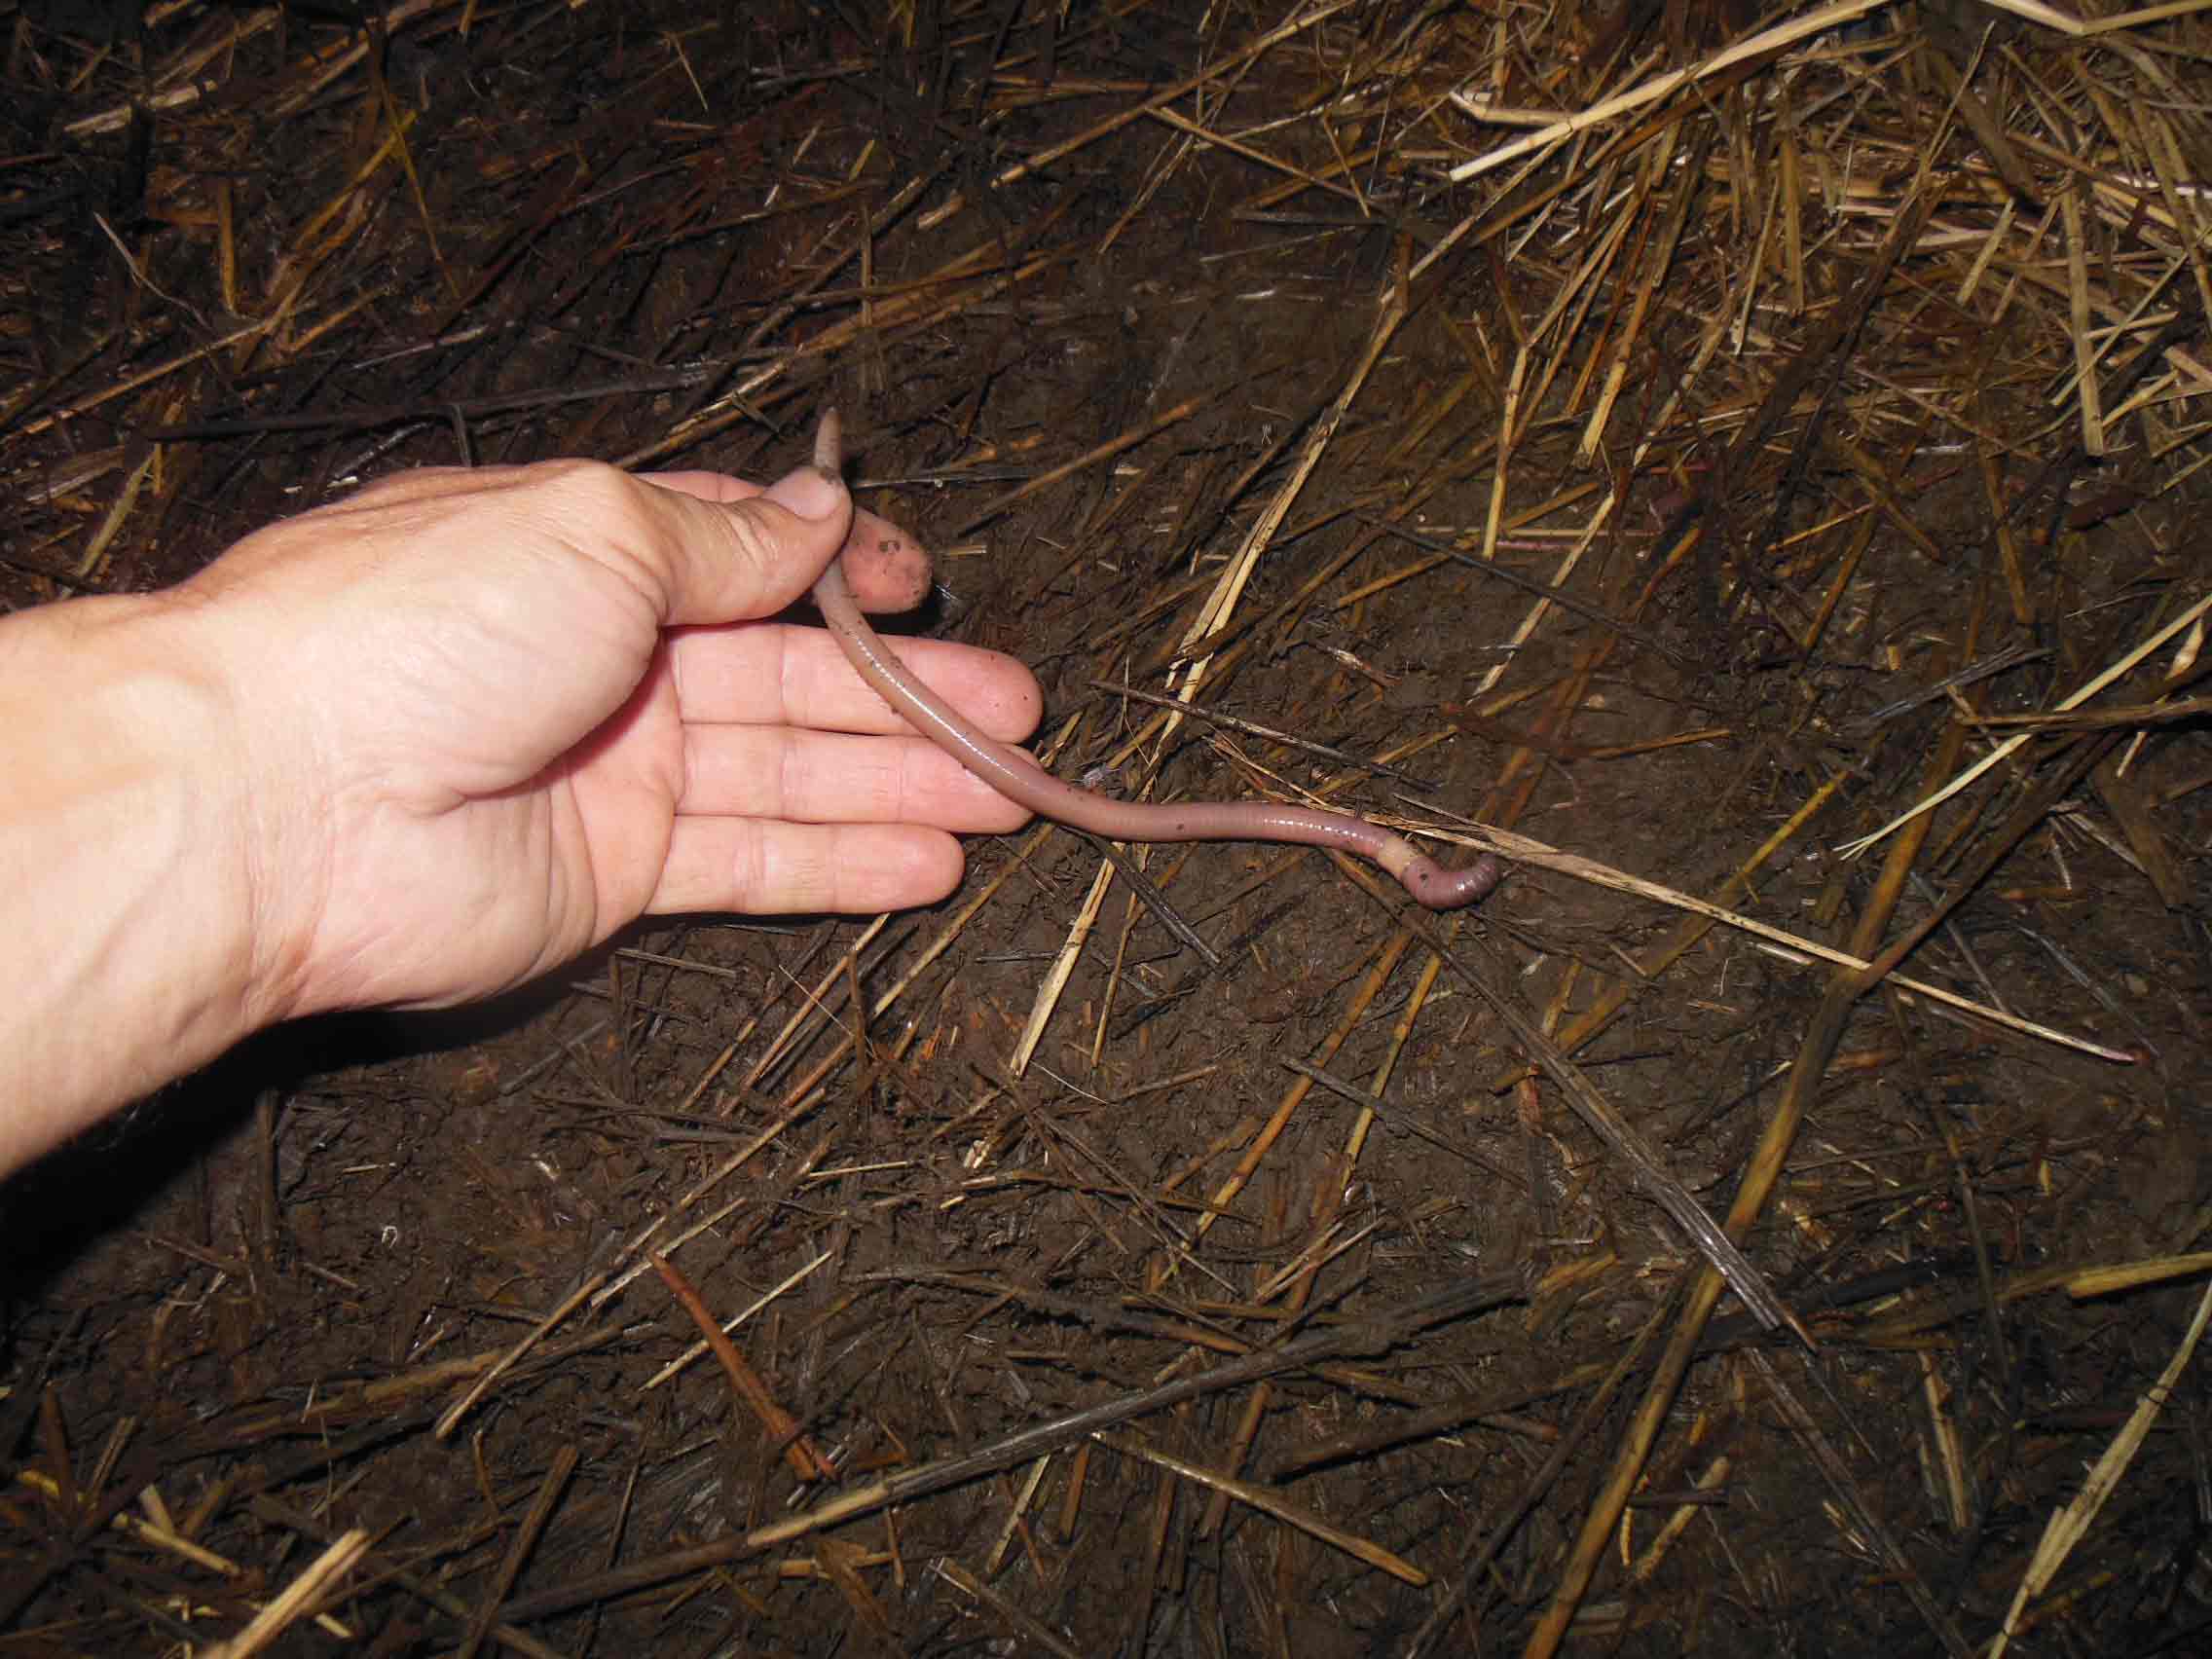
The picture above is not a composting worm but rather a Nightcrawler that digs vertical burrows. But it has managed to make my compost pile rather rich and loamy. I can feed this compost to the plants directly or continue to feed it to my composting worms in my indoor worm bins.
So there you have it!
How To Start A Worm Farm
On A Shoestring Budget
In Less than $5 or FREE!
Okay, so that's it. All you really need to buy is the 1 cup of worms for $5 or less and you're in business. But I still really advise that you go and read the Free Worm Farming Guide first. It's fun and I keep adding more pages.
BTW Let me know how I'm doing. Email me at the Contact Us page. I'm working hard day and night to bring you useful info so a little encouragement or constructive criticism is always accepted. All the Best :)
P.S.
You can start a worm farm in just about any type of container in the world as long as these 5 basic fundamentals are in play. Follow the link below for a quick guide on the 5 basic elements a worm must have in order to thrive and print it out to keep next to your bin.
Download the PDF print-out
(AKA Worm composting cheat-sheet)
The Five-Step Success To Worm Composting
Return to Homepage from Start A Worm Farm Dirt Cheap
