Flow Through Worm Bins
Back to TOC
|
3. Flow through worm bins |
See other Worm Farming Systems
submitted by people just like YOU!
Flow through worm bins are the way to go if you're wanting a less hassle operation than that of a plastic Rubbermaid.
Now, I'm not saying worm farming is difficult. I'm just saying this type of system does a little more of the work for you.
So if you have some old lumber and a little bit of hardware lying around, The sky's the limit.
The great thing about the wooden bins is that the wood breathes and soaks up some of the moisture.
Homemade Wooden Flow Through Worm Bins
Air can flow through the cracks and joints unlike the plastic ones where it's just one piece.
This is more of a method rather than a type of wooden worm bin. This method allows you to harvest your worm castings in a manner that is less disturbing to the worms. They have screens or holes on the bottoms of each tray.
When the worms are less disturbed the productivity increases. Consider the diagram below. When the food source runs out, the worms migrate from the lower compartment to the upper compartment where the fresh food source is.
|
This leaves the castings behind and ready to be harvested. It's a good idea to always leave one tray of castings as this will contain cocoons. |

If you don't leave ample time for the cocoons to hatch and migrate toward the food source above then the baby worms will be harvested to only die in your garden or flower bed during the hard winter months.
Be patient. The baby worms will find the food source. The more worms you can keep, the more worms that will multiply and create castings and create more worms.
Flow of trays are from top to bottom. |
When you've harvested your castings you simply slip the bottom tray out, dump the worm castings and put it back on top. Now that tray is empty and ready for fresh food. So you can see how easy of a system this can be. If you plan on having this setup indoors then bear in mind that you'll need to have something to catch any leachate into. The plastic flow through bins (worm Towers) come with a spout and bottom tray to catch the leachate. If you decide to make your own plastic flow through then you can easily buy a spout from any home improvement store but won't really need this as you get better at controlling the moisture within your flow through worm bins. Another way that you can have a continuous flow is horizontal instead of vertical. This will also work with a plastic bin setup if it's large enough. Again, it does not have to be 4 compartments. You can divide your area into two, three, or four compartments. Working from left to right and then right to left. |
Flow of food ====>
|
1 Castings
|
2 Cocoons
|
3 Worms
|
4 Empty and
|
So, you see, it doesn't really matter what direction you go. They will always follow the food. I would like to end by saying that, although we've been discussing wooden flow through worm bins, the plastic flow through worm bins are much in the same. I touched on this in the Plastic worm bins section. The wooden worm bin will breathe better. Sometimes it may breathe too well leaving the tops and edges dryer than desired. If this occurs then simply spray it with some unchlorinated water every now and then. Now, Believe it or not. There is another way to collect the castings without any migrating at all. Go to Continuous Flow Through Bins Next OR Return From Flow Through Worm Bins to Beginning TOC
Once stage #4 is complete you can keep putting food on top of #4 until castings are ready to harvest form #3 and then continue working your way back to the left.


Turn Your Hobby into Profit!
Make Over 6 figures!
Copy Success!

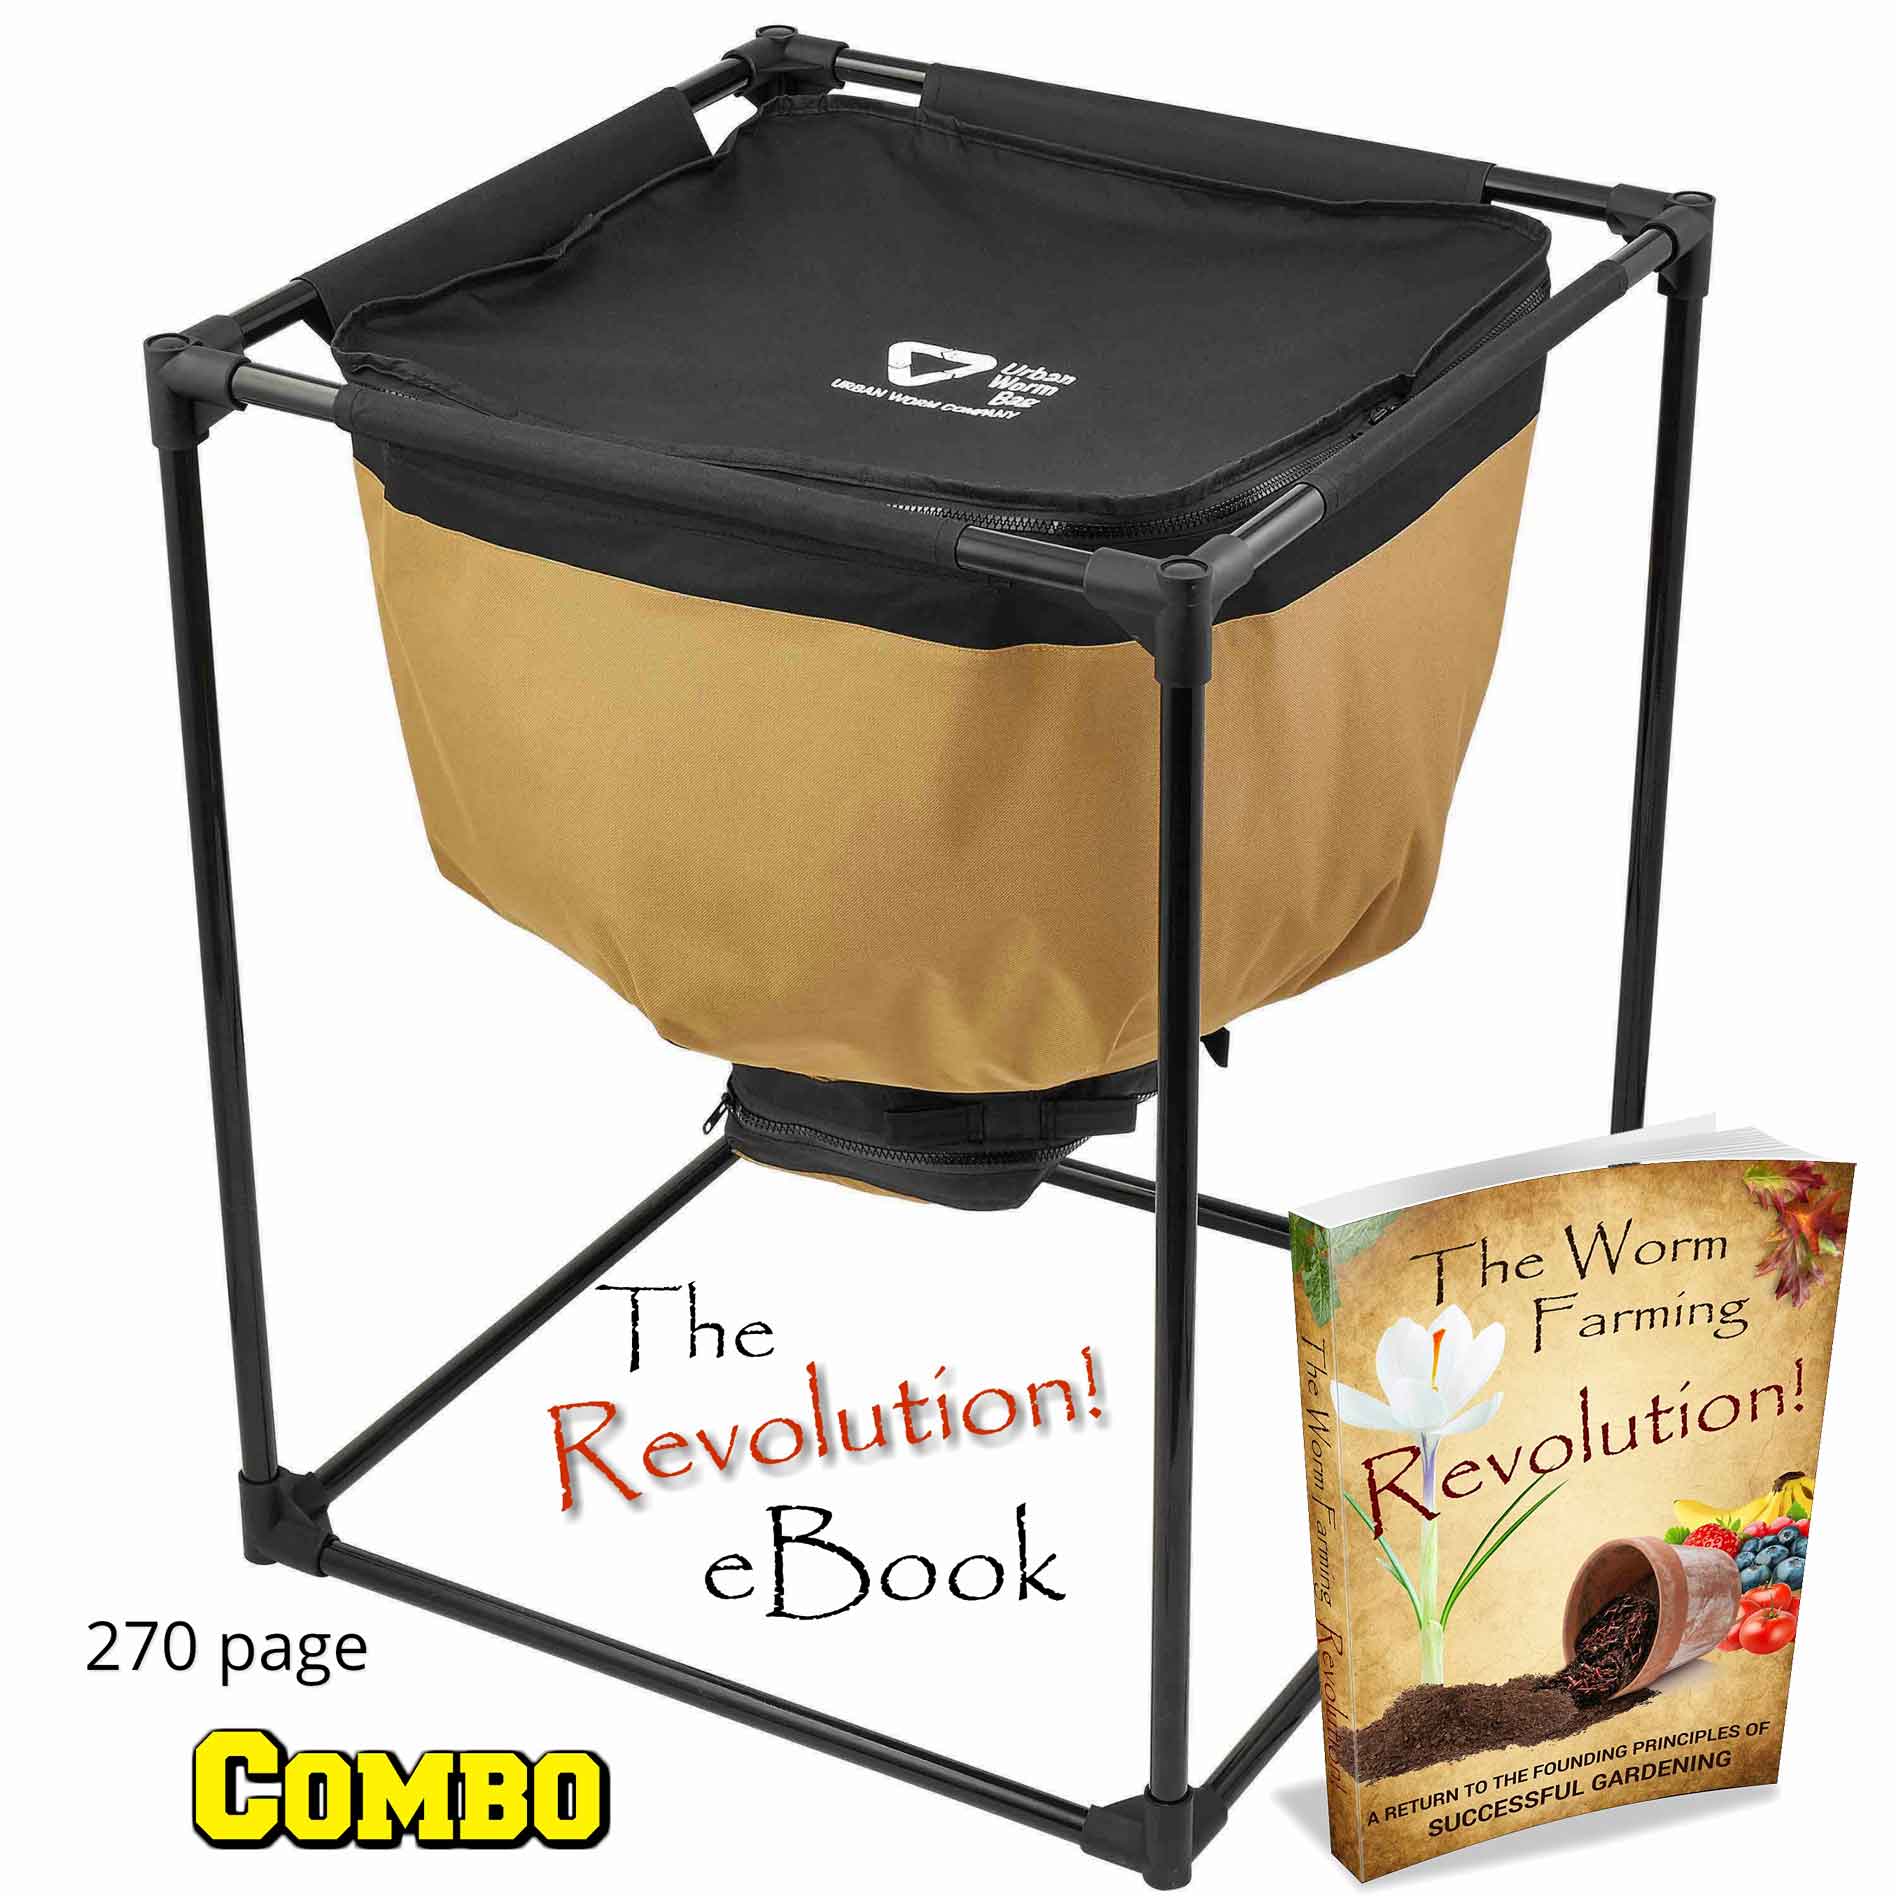
2026's Largest, (in-color) Worm Farming Book to-date.
More


My Garden Tower
The Multi-Planter

WFR's Ultimate Package
Nearly 1,000 Pages
for 2025 & Beyond


